This guide shows how to set up a monitoring server with Checkmk Community on a dataforest seed. You install the Checkmk package, create a monitoring site with omd, switch the site to its own Apache process and put Caddy in front as a reverse proxy with automatic HTTPS. By the end you reach the web interface encrypted over your own domain. The setup takes about 20 minutes.
In the second part of this series you add your first host and its services.
Why your own monitoring server?
A monitoring server keeps an eye on your servers and services and speaks up before a full disk or a stopped service turns into an outage. With your own server, all metrics stay with you instead of flowing to a SaaS provider.
Checkmk Community is the free, open-source edition of Checkmk (formerly Raw Edition), released under the GPLv2. It discovers services automatically, ships with a web interface and works well for small to medium environments. For an overview of what it can do, see our monitoring solution.
Prerequisites
- A seed at dataforest cloud. Memory is the most important factor and grows with the number of monitored services. A small model is enough to start.
- SSH access as root to the seed
- A domain whose A record (and AAAA record if needed) points to the public IP of the seed. It is required for Caddy's automatic HTTPS certificate.
- Basic familiarity with the terminal
A seed can be created through dataforest cloud or via the Public API. A single API call is enough:
curl -X POST "https://api.dataforest.net/api/v1/public/seeds" \
  -H "Authorization: Bearer <API-Token>" \
  -H "Content-Type: application/json" \
  -d '{
    "name": "monitoring",
    "plan": "lines/entry/models/entry-c1-m2-s20",
    "location": "fra01",
    "project_id": "<Project-ID>",
    "ssh_keys": ["<SSH-Key-ID>"],
    "source": {
      "type": "image",
      "ref": "images/debian/versions/debian-v13"
    },
    "enable_ipv4": true
  }'
You create the API token in the dashboard under API. The project ID is returned by the team endpoint GET /api/v1/public/team (the id field in the projects array), see the Quick start in the API docs. The available SSH key IDs can be listed with GET /sshkeys.
This guide uses the domain monitoring.example.com and the site name monitoring. Replace both with your own values.
Install Checkmk Community
Checkmk provides a separate package for each edition, version and distribution. Find the file matching your distribution at checkmk.com/download. This guide uses version 2.5.0p5, so check for the current patch version before downloading.
First, download and import Checkmk's public key to verify the package signature:
apt install -y gpg
wget https://download.checkmk.com/checkmk/Check_MK-pubkey.gpg
gpg --import Check_MK-pubkey.gpg
On AlmaLinux/RockyLinux, Checkmk also needs the EPEL and CRB repositories:
dnf install -y dnf-plugins-core
dnf install -y https://dl.fedoraproject.org/pub/epel/epel-release-latest-9.noarch.rpm
dnf config-manager --set-enabled crb
Then download and install the package. Adjust the filename to your distribution (bookworm for Debian 12, trixie for Debian 13, jammy for Ubuntu 22.04, noble for Ubuntu 24.04, el9 for AlmaLinux/RockyLinux 9):
wget https://download.checkmk.com/checkmk/2.5.0p5/check-mk-community-2.5.0p5_0.trixie_amd64.deb
apt install -y ./check-mk-community-2.5.0p5_0.trixie_amd64.deb
On Debian/Ubuntu, apt pulls in all dependencies automatically, including Apache. Checkmk uses Apache with mod_wsgi internally for the web interface. You never touch that Apache directly, the public web server will be Caddy later on.
Verify the installation:
omd version
The output shows the installed version and edition, for example 2.5.0p5.community.
Create a monitoring site
Checkmk manages each instance as its own site through the omd tool. Create a site named monitoring:
omd create monitoring
The command prints the automatically generated login at the end. This line contains the password, so note it down:
The admin user for the web applications is cmkadmin with password: HmKp7xQ2
Alternatively you can set the password yourself directly:
omd create --admin-password 'YourSecurePassword' monitoring
Then start the site:
omd start monitoring
Check the status of the site and its services:
omd status monitoring
When everything is up, the output shows OVERALL 1 RUNNING and every service (among them apache, nagios, rrdcached) shows RUNNING.
Serve the web interface through Caddy
By default the site is served by the system Apache on port 80. For encrypted access over your domain, you switch the site to its own Apache process and put Caddy in front as a reverse proxy.
Why Caddy instead of the system Apache? Checkmk uses Apache internally for the interface anyway, and you do not touch that. For public access, though, Caddy is far more convenient: it obtains and renews the Let's Encrypt HTTPS certificate fully automatically and needs only a few lines of configuration. With the system Apache you would have to set up and maintain certificates, their renewal and the virtual hosts by hand. Caddy handles all of that without any further action.
Switch the site to its own Apache
A site's Apache settings can only be changed while the site is stopped. Switch into the site user for this:
omd su monitoring
You now work as the site user. Stop the site, enable its own Apache on the local address and start it again:
omd stop
omd config set APACHE_TCP_ADDR 127.0.0.1
omd config set APACHE_TCP_PORT 5000
omd config set APACHE_MODE own
omd start
When you set APACHE_MODE, Checkmk reminds you to run omd update-apache-config monitoring. That only concerns the system Apache, which we disable in the next step, so you can ignore it here.
Then return to the root user:
exit
The site now listens locally on port 5000 only. You can check this directly:
curl -s -o /dev/null -w "%{http_code}\n" http://127.0.0.1:5000/monitoring/
The output should be 302 (a redirect to the login page). The site is reachable, but not yet public.
Disable the system Apache
So that Caddy can bind ports 80 and 443, stop and disable the public system Apache. The site's own Apache is not affected:
systemctl disable --now apache2
Install Caddy
On Debian/Ubuntu, Caddy is included in the package repositories:
apt install -y caddy
On AlmaLinux/RockyLinux, Caddy is not in EPEL, so the COPR repository is used:
dnf install -y 'dnf-command(copr)'
dnf copr enable -y @caddy/caddy
dnf install -y caddy
The repositories ship a current Caddy 2 version with automatic HTTPS. If you always want the very latest version, add the official Caddy repository.
Configure Caddy
Caddy's configuration lives in /etc/caddy/Caddyfile. Open the file:
nano /etc/caddy/Caddyfile
Replace the content with the following configuration. Replace monitoring.example.com with your domain:
monitoring.example.com {
    @root path /
    redir @root /monitoring/

    reverse_proxy 127.0.0.1:5000 {
        header_down Location "http://127.0.0.1:5000/" "https://{host}/"
    }
}
The rule redirects a request to the domain root to /monitoring/, all other requests go to the site. The Checkmk Apache builds its redirects with the internal address (http://127.0.0.1:5000/…); the header_down Location line rewrites them to your public HTTPS address so the login does not jump to the internal address in the browser. Caddy sets the remaining forwarding headers (among them X-Forwarded-Proto) automatically.
Reload Caddy to apply the configuration:
systemctl reload caddy
On the first request to the domain, Caddy automatically requests a Let's Encrypt certificate. Check the status:
systemctl status caddy
On AlmaLinux/RockyLinux, SELinux is active. If the interface does not load behind Caddy, allow local network connections and label the site's port:
setsebool -P httpd_can_network_connect 1
dnf install -y policycoreutils-python-utils
semanage port -a -t http_port_t -p tcp 5000
Set up the firewall
You control your seed's reachability from the internet with the firewall from dataforest cloud. It is managed independently of the server, in the dashboard and via the API.
In the dashboard, click Network > Firewalls on the left, then Create firewall. Give it a name like checkmk-monitoring and add the following rules.
Inbound:
| Name | Sources | Protocol | Port |
|---|---|---|---|
| SSH | All IPv4, All IPv6 | TCP | 22 |
| HTTP | All IPv4, All IPv6 | TCP | 80 |
| HTTPS | All IPv4, All IPv6 | TCP | 443 |
| Ping | All IPv4, All IPv6 | ICMP | - |
Port 80 is needed for the Let's Encrypt certificate challenge, port 443 for the web interface, port 22 for SSH. Tip: you can harden SSH further by setting only your own IP address as the source instead of all sources.
Outbound:
| Name | Targets | Protocol | Port |
|---|---|---|---|
| DNS | All IPv4, All IPv6 | UDP, TCP | 53 |
| NTP | All IPv4, All IPv6 | UDP | 123 |
| HTTP/HTTPS | All IPv4, All IPv6 | TCP | 80, 443 |
| Checkmk agent | All IPv4, All IPv6 | TCP | 6556 |
| All IPv4, All IPv6 | TCP | 587 | |
| Ping | All IPv4, All IPv6 | ICMP | - |
Outbound, the server needs DNS and NTP for name resolution and time, HTTP and HTTPS for package updates and the Let's Encrypt certificate, port 6556 to reach the Checkmk agents on the monitored hosts later, and SMTP (port 587) for email notifications. If you later monitor services on other ports, add the corresponding outbound rules.
Under Connected resources, select the monitoring seed and save. You can assign individual seeds or tags.
The same firewall can also be created via the API. Sources and targets are CIDR blocks (type: cidr), seeds (type: seed) or tags (type: tag), and attachments assigns the firewall directly to a seed. <monitoring-seed-id> is the seed's UUID (e.g. from GET /seeds):
curl -X POST "https://api.dataforest.net/api/v1/public/firewalls" \
  -H "Authorization: Bearer <API-Token>" \
  -H "Content-Type: application/json" \
  -d '{
    "name": "checkmk-monitoring",
    "inbound_rules": [
      { "protocol": "tcp", "port": "22", "comment": "SSH", "sources": [{ "type": "cidr", "cidr": "0.0.0.0/0" }, { "type": "cidr", "cidr": "::/0" }] },
      { "protocol": "tcp", "port": "80,443", "comment": "HTTP/HTTPS", "sources": [{ "type": "cidr", "cidr": "0.0.0.0/0" }, { "type": "cidr", "cidr": "::/0" }] },
      { "protocol": "icmp", "comment": "Ping", "sources": [{ "type": "cidr", "cidr": "0.0.0.0/0" }, { "type": "cidr", "cidr": "::/0" }] }
    ],
    "outbound_rules": [
      { "protocol": "tcp", "port": "53,80,443,587,6556", "comment": "DNS, updates, ACME, email, agent", "destinations": [{ "type": "cidr", "cidr": "0.0.0.0/0" }, { "type": "cidr", "cidr": "::/0" }] },
      { "protocol": "udp", "port": "53,123", "comment": "DNS, NTP", "destinations": [{ "type": "cidr", "cidr": "0.0.0.0/0" }, { "type": "cidr", "cidr": "::/0" }] },
      { "protocol": "icmp", "comment": "Ping", "destinations": [{ "type": "cidr", "cidr": "0.0.0.0/0" }, { "type": "cidr", "cidr": "::/0" }] }
    ],
    "attachments": [
      { "type": "seed", "seed_id": "<monitoring-seed-id>" }
    ]
  }'
Important: the rules for ports 80 and 443 must stay in place, otherwise Caddy cannot issue or renew the certificate.
In the second part of the series, you add a rule that allows the monitoring seed to reach the monitored seeds over port 6556. There, sources and targets can be specified not only as IP addresses but directly as seeds.
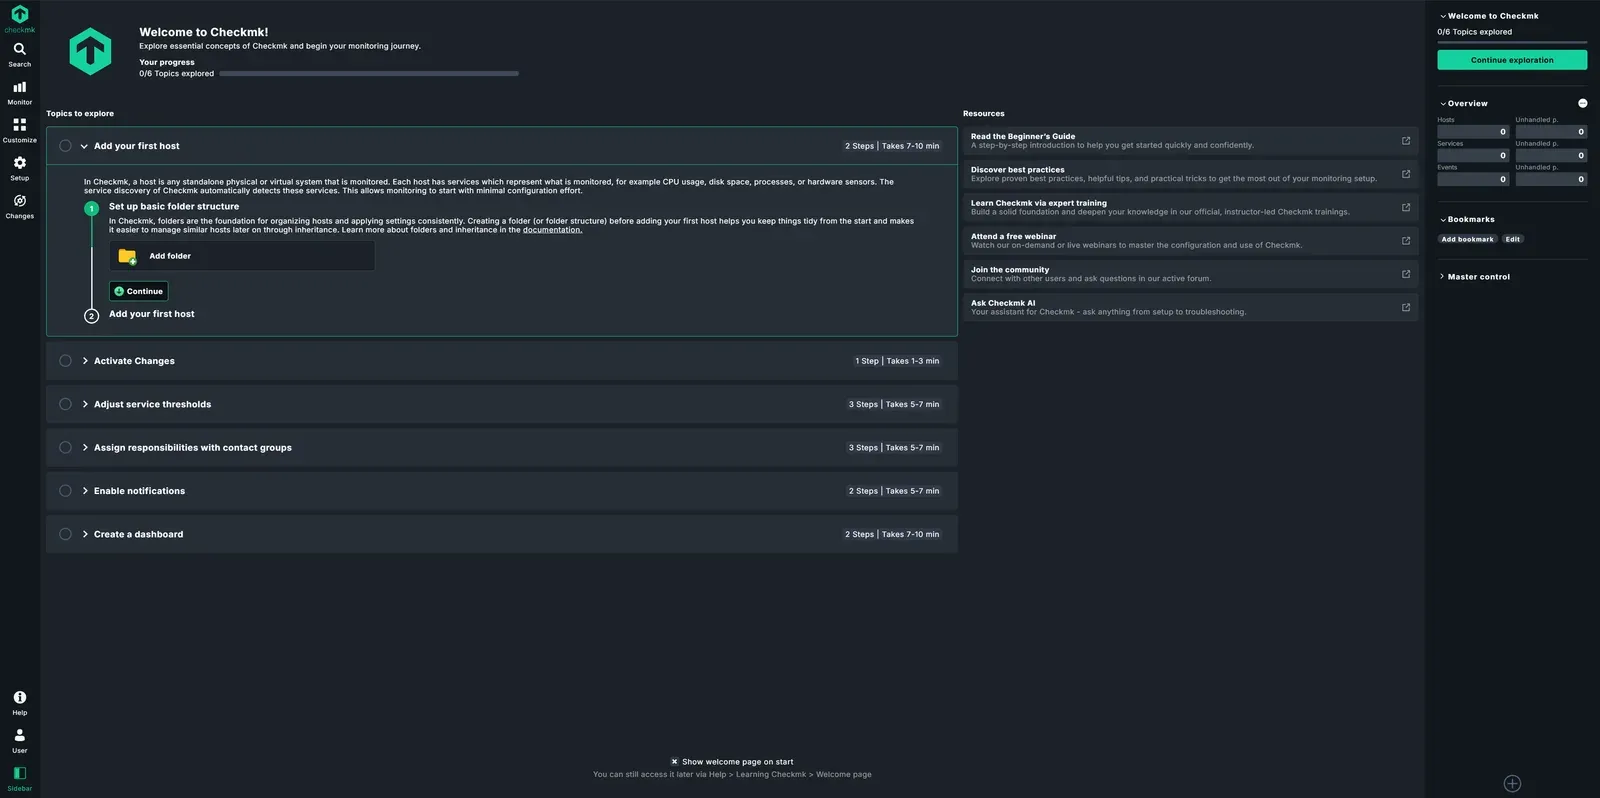
Log in
Open https://monitoring.example.com/monitoring/ in your browser. You are redirected to the Checkmk login page. Log in with the user cmkadmin and the password from the Create a monitoring site step.
After the first login, it is a good idea to set your own password under Users > cmkadmin.
Updates and maintenance
Keep the operating system up to date with the usual package manager commands. Checkmk does not update itself, and omd update does not download new versions. To update Checkmk, first download the new package and install it just like the initial installation. Several versions can be installed in parallel:
wget https://download.checkmk.com/checkmk/<new-version>/check-mk-community-<new-version>_0.trixie_amd64.deb
apt install -y ./check-mk-community-<new-version>_0.trixie_amd64.deb
Then switch the site to the newly installed version:
omd stop monitoring
omd update monitoring
omd start monitoring
For the monitoring configuration, a regular backup is recommended. Optional automatic off-site backups are available at dataforest cloud as an add-on.
Summary
The monitoring server is set up: Checkmk Community runs as its own site, the web interface is reachable encrypted over your domain, and Caddy takes care of the certificate. So far, however, Checkmk does not monitor anything yet.
In the next part, Add your first hosts and services, you install the Checkmk agent on your first server, let it discover the services automatically and activate the changes. For more possibilities, see our monitoring solution.